


How To Record Audio Narration For Substack
Tips and Tricks for recording audio narration on Substack, with comparisons!

Why Record Audio Narration?
Think of all the mistakes you’ll find.
I jest — but in all seriousness, it is a great way to go over your own writing.
My top reasons for recording narrations are:
Show you how I hear the cadence of the sentence
Pronounce my made-up words
Give my characters life
Add accessibility
Offer it as a paid perk
You can also, if you’re not using it as a paid perk, link it to Spotify, and gain exposure through the podcasting world.
How to Record Audio Narration
This can be thought of as three primary pieces, and your ability to move the needle on each can have drastic effects on the outcome. I’ll show you where it counts.
1. The Space
Setting up the space to be conducive to recording is mission-critical in ways I did not realize until I got into this. I will prove this in our comparison section, but:
A perfect room setup + processing can turn a $18 mic into a $120 mic
2. The Equipment
From a simple USB mic, to a pop filter condenser mic with phantom power and gain control, all the way up to an all-in-one record+process+export box, there’s a lot.
I’ll show you what counts, plus recommendations across the price spectrum.
3. The Recording
Constant retakes? All in one go? Record vowel sounds and edit together a narration? (pls no)
I’ll walk you through how and why I do what I do, and why I think you should too.
3. The Post-Processing
Get a bit lost once we start talking Audacity, EQ Curves, Compression, Normalization, DeClicker, post-partum and rebirth? (scratch those last two)
Yeah, I did too. This can be your cheat-sheet. Let’s get into step 1.
Setting up your audio narration space
Mine’s a closet.
You need nothing fancier, and in some cases professionals swear by the closet, or the full rented studio. You’re looking to control these factors as best you can:
Ambiant noise, Reflective surfaces, positioning, and continuity
Ambiant noise
Turn off the air conditioning unit while you record. Got a loud laptop? Get a long cable (I’m dead serious). Ask your roommate not to sing, your dog not to bark, and your neighbor to stop breathing.
Ok, it’s not quite that sensitive, but you get the gist. The computer and AC noise were my biggest factors; ensuring they weren’t too loud was critical.
Honestly, my computer is still too loud, but thankfully it’s quiet enough to edit out.
Reflective surfaces
You want to eliminate as many hard surfaces as you can near the mic. This is why many people think a closet is best:
If you’re not in a professional studio, shrinking the space makes covering all surfaces easy.
When I close the doors to my closet, three big towels, a few hoodies, and some T-shirts cover every hard surface my voice could bounce off.
Positioning
The angle of the mic matters. While it will depend on your equipment, speaking directly at the mic, ironically, is not good for narration purposes. You are alone, in a controlled environment, with little noise.
Your breath itself will get picked up if you speak directly at the mic
Position it close, but to the side. Top, bottom, left, right, doesn’t matter. But not straight ahead.
Continuity
Do it the same way every time.
This is critical for post processing steps, as well as giving your listeners a good experience every time. It’s jarring and unpleasant for a reader to go from one chapter or post to the next, and their headphones begin screaming or whispering at them.
This includes mic positioning, pop filter, how far you closed the closet door, all of that.
A note of encouragement, for any of you reading this right now and thinking, “wow, that seems too precise to get right”.
You don’t need perfection to make a good Substack narration.
If you’re gunning for ACX qualification, then yeah, you might. Otherwise, take heart — you can change it up six ways from Sunday and your readers will love you for taking the time to give them your story, in your voice.
Recording Equipment
This might surprise you, but:
Your recording equipment is the most adaptable aspect of your setup, depending on your needs.
As I’ll prove below in the comparison section, you can take a $18 dollar mic and make it work. You can take a $120 dollar mic and make it sob at the atrocity you’ve created.
There’s even more you can do if you had thousands of dollars to spend. I don’t, and didn’t, so I won’t be able to tell you about that path.
I can tell you how less than $100 bucks can get you near-professional grade narrations for your Substack, though.
Mics
I currently use the Apex 435 Condenser Mic. It now sells on Ebay for 35$, but it was originally a $120 dollar mic.
I also have a dinky USB mic that I bought MSRP for $15 bucks (and it’s currently $18 on Amazon).
We will test both so you can see the difference, but the point is, you can spend very little on a mic and get the job done.
Pop Filter
Non-negotiable. Get one, or construct one.
These are the little guys that sit between your mouth and the microphone:
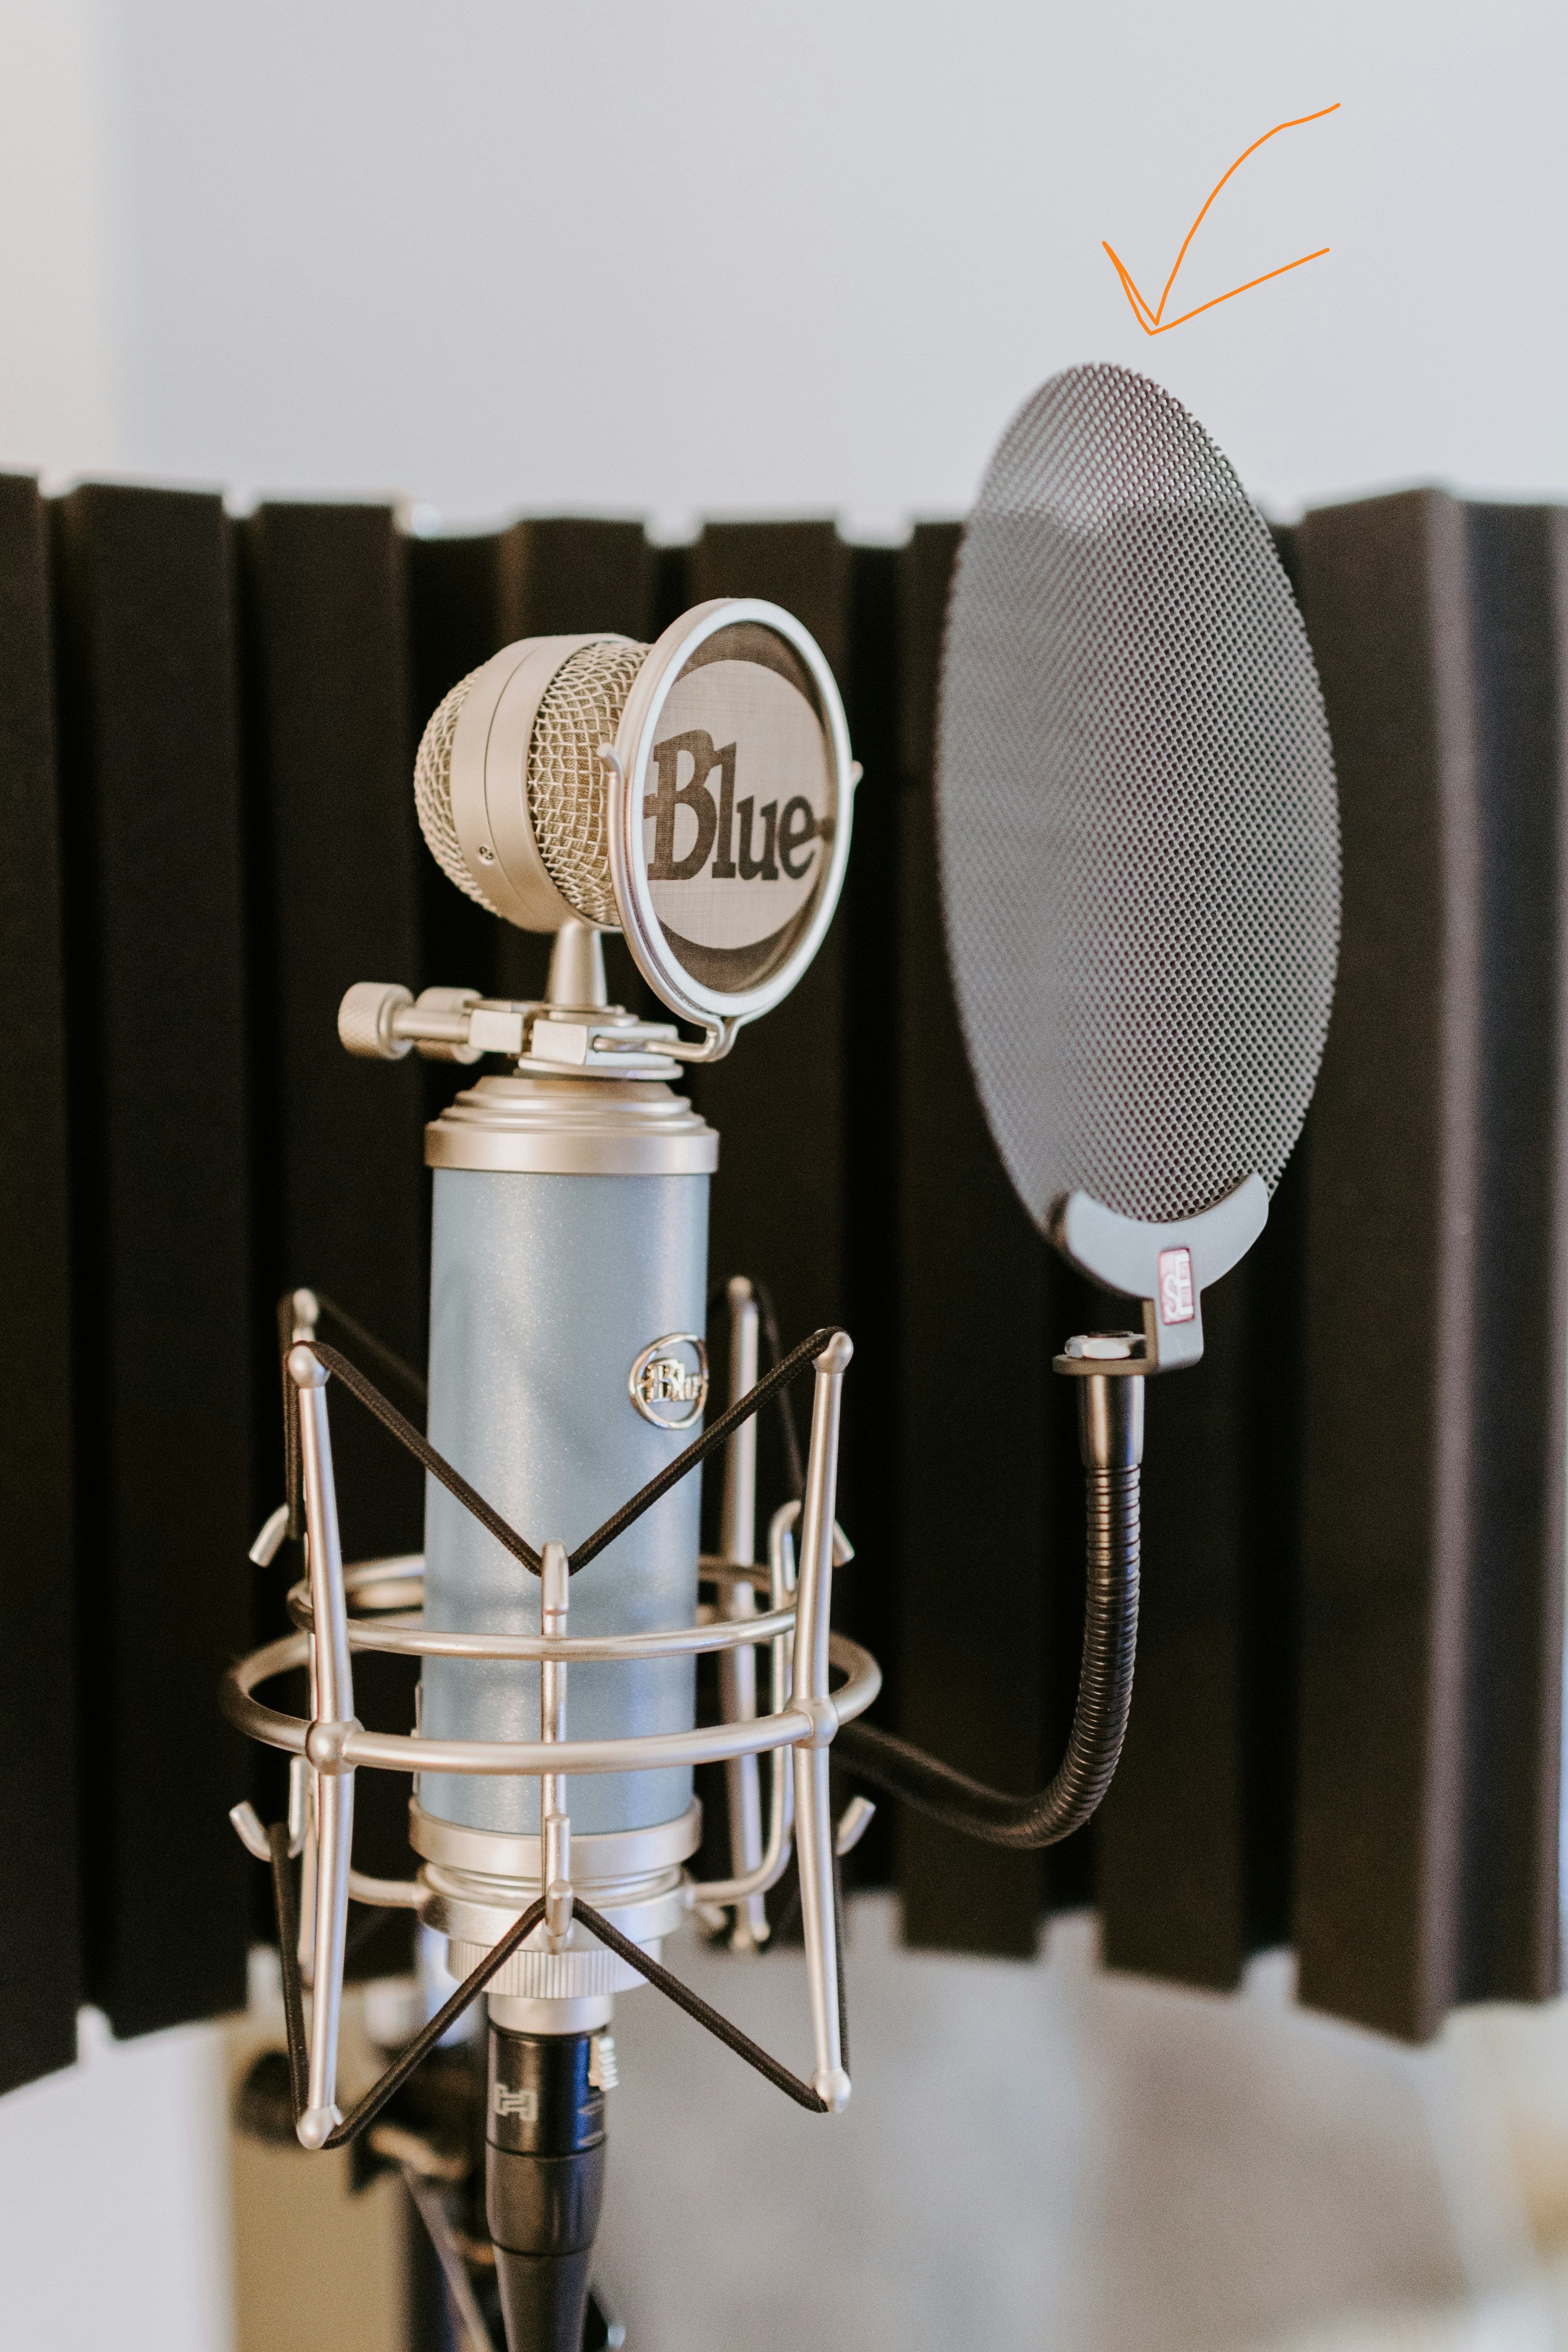
They do wonders for the P’s and B’s and Ts that otherwise sound like punches in the recording.
Audio Interface
If you do use a heavier duty mic like a condenser mic, you’ll need a physical device that can both power the mic (potentially) and translate the sound into a form a computer is familiar with.
This is a version of what I use, it’s quick and easy with gain control and power for the mic.
IMPORTANT: My mic originates from when I was trying to start a band in highschool. It’s old and you can do better nowadays for $120.
My suggestions for any of you looking to get into this:
$18 — The mic in my examples below
USB, dirt cheap, plug-and-play, passable if sound-proof + edited
I do not truly recommend this. For just a tad more, you’ll get massively better quality from the same setup and post-process.
$50 — Maono AU-A04 or FIFINE K669
USB, plug-and-play, clear enough for narration, no interface required.
$100 — Samson Q2U or Audio-Technica ATR2100x
Hybrid USB/XLR, easy to use now and flexible for upgrades later.
$150-200 — AT2020 + Focusrite Scarlett Solo
Professional-grade XLR mic with clean interface power and great sound.
$600 — Rode Rodecaster Duo
All-in-one recorder, interface, mixer, and processor. Pick this option if you want to spend a lot of money so that room setup and mixing are not that important.
My Recording Process
I hit record, walk with my phone in hand to the closet, and record the whole thing in one take. Five minutes? Yep. Twenty minutes? Also yes…but we’ll cover my caveat there.
I prioritize speed, low friction cycles, and clarity.
Speed
I want to produce a quality recording as fast as I can. A process that in and of itself reduced the speed at which I could record would need to have drastic quality gains for me to do it.
So, I do make quite a few post-recording processing edits, as they make a massive difference in the sound, but I don’t stop and listen every thirty seconds.
This brings me to…
Low Friction Cycles
It takes me three minutes to set up my recording. In a sense, that’s part of the reason a closet is so great — I can open it up, adjust the mic, turn on my recorder, and go.
I also record in one take. If I make a mistake, I whistle loudly (this shows up as a clear spike on the recording) and say the line again, but continue on. During the edit, I go through and delete the repeated phrases, and edit for the one spoken the way I wanted.
My longest recording session was a thirty-two minute take. About seventeen minutes in, I opened the closet door, grabbed some water, and hummed some vocal exercises. Then I went straight back in.
That block of 3 minutes was easy to cut from the final recording, and it saved me the effort of starting+stopping+listening.
Clarity
I could re-record for centuries trying to make my character sound exactly as they do in mind head, or nail the inflections and subtleties of the sentences. I listen to other narrators and am suddenly filled with ideas on how to improve mine, and this further makes me want to re-take.
However, my current goal is clarity. Thrain and The King’s Scribe are both novels-in-progress. If I agonized over my recordings now, I’d end up having to re-do them anyways!
Fun Recording Examples + My Post-Process Settings
Keep reading with a 7-day free trial
Subscribe to The Lyrical High‑Fantasy Library to keep reading this post and get 7 days of free access to the full post archives.